ArangoDB v3.10 reached End of Life (EOL) and is no longer supported.
This documentation is outdated. Please see the most recent stable version.
X.509 Certificates in ArangoGraph
X.509 certificates in ArangoGraph are utilized for encrypted remote administration. The communication with and between the servers of an ArangoGraph deployment is encrypted using the TLS protocol
X.509 certificates are digital certificates that are used to verify the authenticity of a website, user, or organization using a public key infrastructure (PKI). They are used in various applications, including SSL/TLS encryption, which is the basis for HTTPS - the primary protocol for securing communication and data transfer over a network.
The X.509 certificate format is a standard defined by the International Telecommunication Union (ITU) and contains information such as the name of the certificate holder, the public key associated with the certificate, the certificate’s issuer, and the certificate’s expiration date. An X.509 certificate can be signed by a certificate authority (CA) or self-signed.
ArangoGraph is using:
- well-known X.509 certificates created by Let’s Encrypt
- self-signed X.509 certificates created by ArangoGraph platform
Certificate chains
A certificate chain, also called the chain of trust, is a hierarchical structure that links together a series of digital certificates. The trust in the chain is established by verifying the identity of the issuer of each certificate in the chain. The root of the chain is a trusted third-party, such as a certificate authority (CA). The CA issues a certificate to an organization, which in turn can issue certificates to servers and other entities.
For example, when you visit a website with an SSL/TLS certificate, the browser checks the chain of trust to verify the authenticity of the digital certificate. The browser checks to see if the root certificate is trusted, and if it is, it trusts the chain of certificates that lead to the end-entity certificate. If any of the certificates in the chain are invalid, expired, or revoked, the browser does not trust the digital certificate.
X.509 certificates in ArangoGraph
Each ArangoGraph deployment is accessible on different port numbers:
- default port
8529,443 - high port
18529
Each ArangoGraph Notebook is accessible on different port numbers:
- default port
8840,443 - high port
18840
Metrics are accessible on different port numbers:
- default port
8829,443 - high port
18829
The distinction between these port numbers is in the certificate used for the TLS connection.
8529 and 443) always serve the well-known certificate.
The auto login to database UI
feature is only available on the 443 port and is enabled by default.Well-known X.509 certificates
Well-known X.509 certificates created by
Let’s Encrypt are used on the
default ports, 8529 and 443.
This type of certificate has a lifetime of 5 years and is rotated automatically. It is recommended to use well-known certificates, as this eases access of a deployment in your browser.
Self-signed X.509 certificates
Self-signed X.509 certificates are used on the high ports, i.e. 18529.
This type of certificate has a lifetime of 1 year, and it is created by the
ArangoGraph platform. It is also rotated automatically before the expiration
date.
Subject Alternative Name (SAN)
The Subject Alternative Name (SAN) is an extension to the X.509 specification that allows you to specify additional host names for a single SSL certificate.
When using private endpoints, you can specify custom domain names. Note that these are added only to the self-signed certificate as Subject Alternative Name (SAN).
How to create a new certificate
- Click a project name in the Projects section of the main navigation.
- Click Security.
- In the Certificates section, click:
- The New certificate button to create a new certificate.
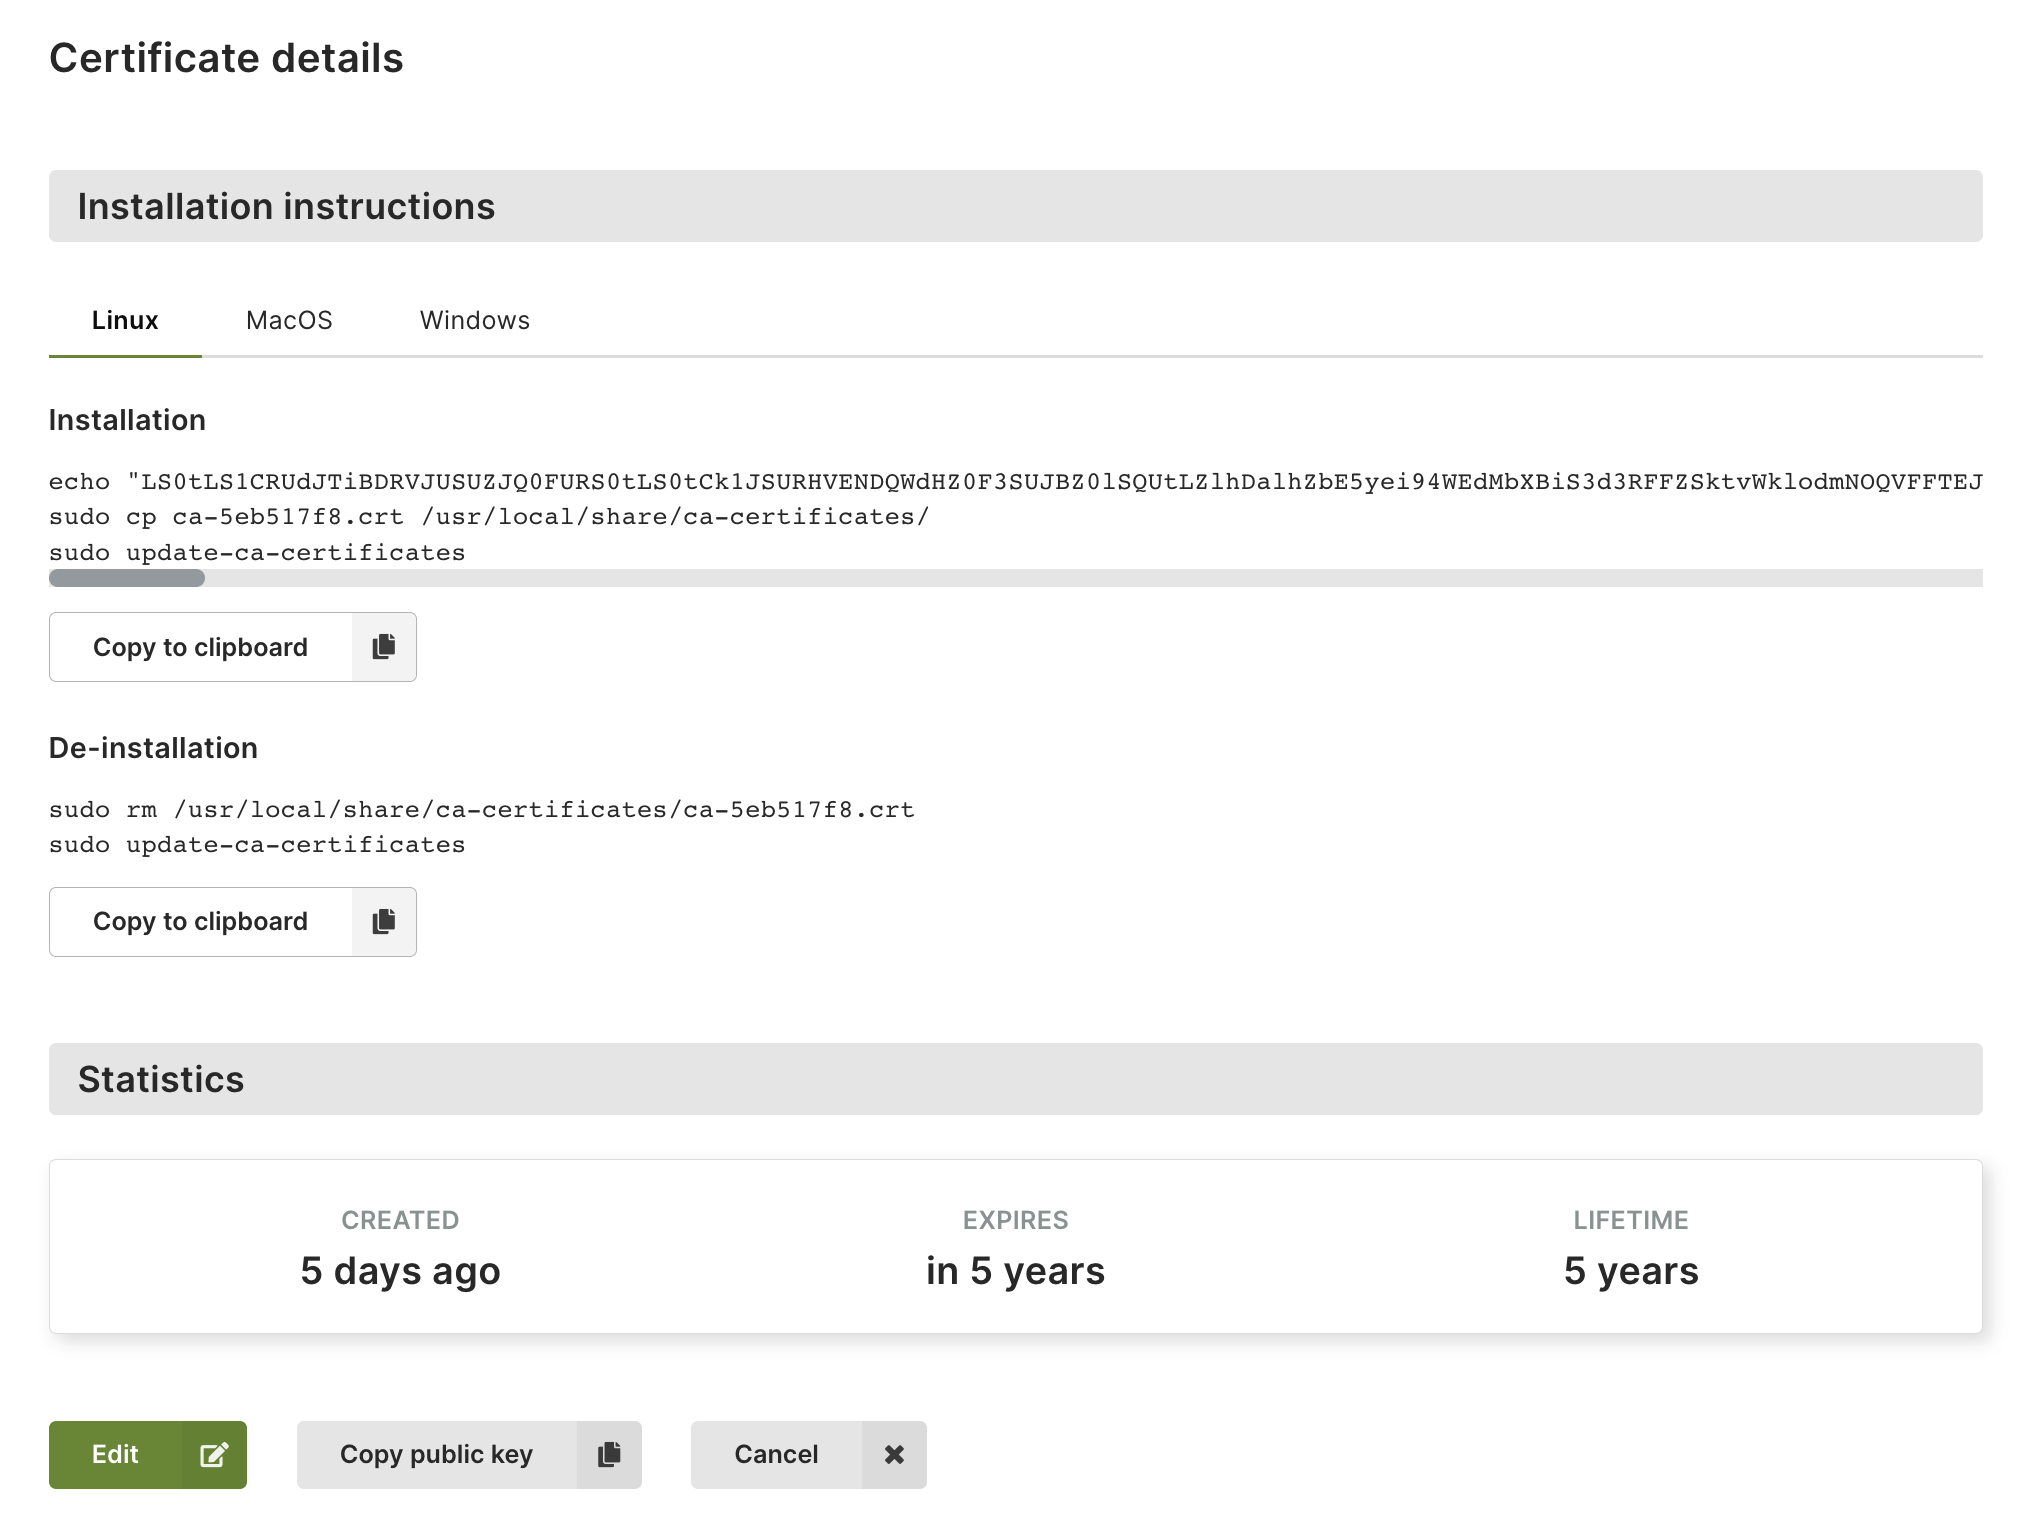
- A name or the eye icon in the Actions column to view a certificate. The dialog that opens provides commands for installing and uninstalling the certificate through a console.
- The pencil icon to edit a certificate. You can also view a certificate and click the Edit button.
- The tag icon to make the certificate the new default.
- The recycle bin icon to delete a certificate.

How to install a certificate
Certificates that have the Use well-known certificate option enabled do not need any installation and are supported by almost all web browsers automatically.
When creating a self-signed certificate that has the Use well-known certificate option disabled, the certificate needs to be installed on your local machine as well. This operation varies between operating systems. To install a self-signed certificate on your local machine, open the certificate and follow the installation instructions.


You can also extract the information from all certificates in the chain using the
openssl tool.
For well-known certificates, run the following command:
openssl s_client -showcerts -servername <123456abcdef>.arangodb.cloud -connect <123456abcdef>.arangodb.cloud:8529 </dev/nullFor self-signed certificates, run the following command:
openssl s_client -showcerts -servername <123456abcdef>.arangodb.cloud -connect <123456abcdef>.arangodb.cloud:18529 </dev/null
Note that <123456abcdef> is a placeholder that needs to be replaced with the
unique ID that is part of your ArangoGraph deployment endpoint URL.
How to connect to your application
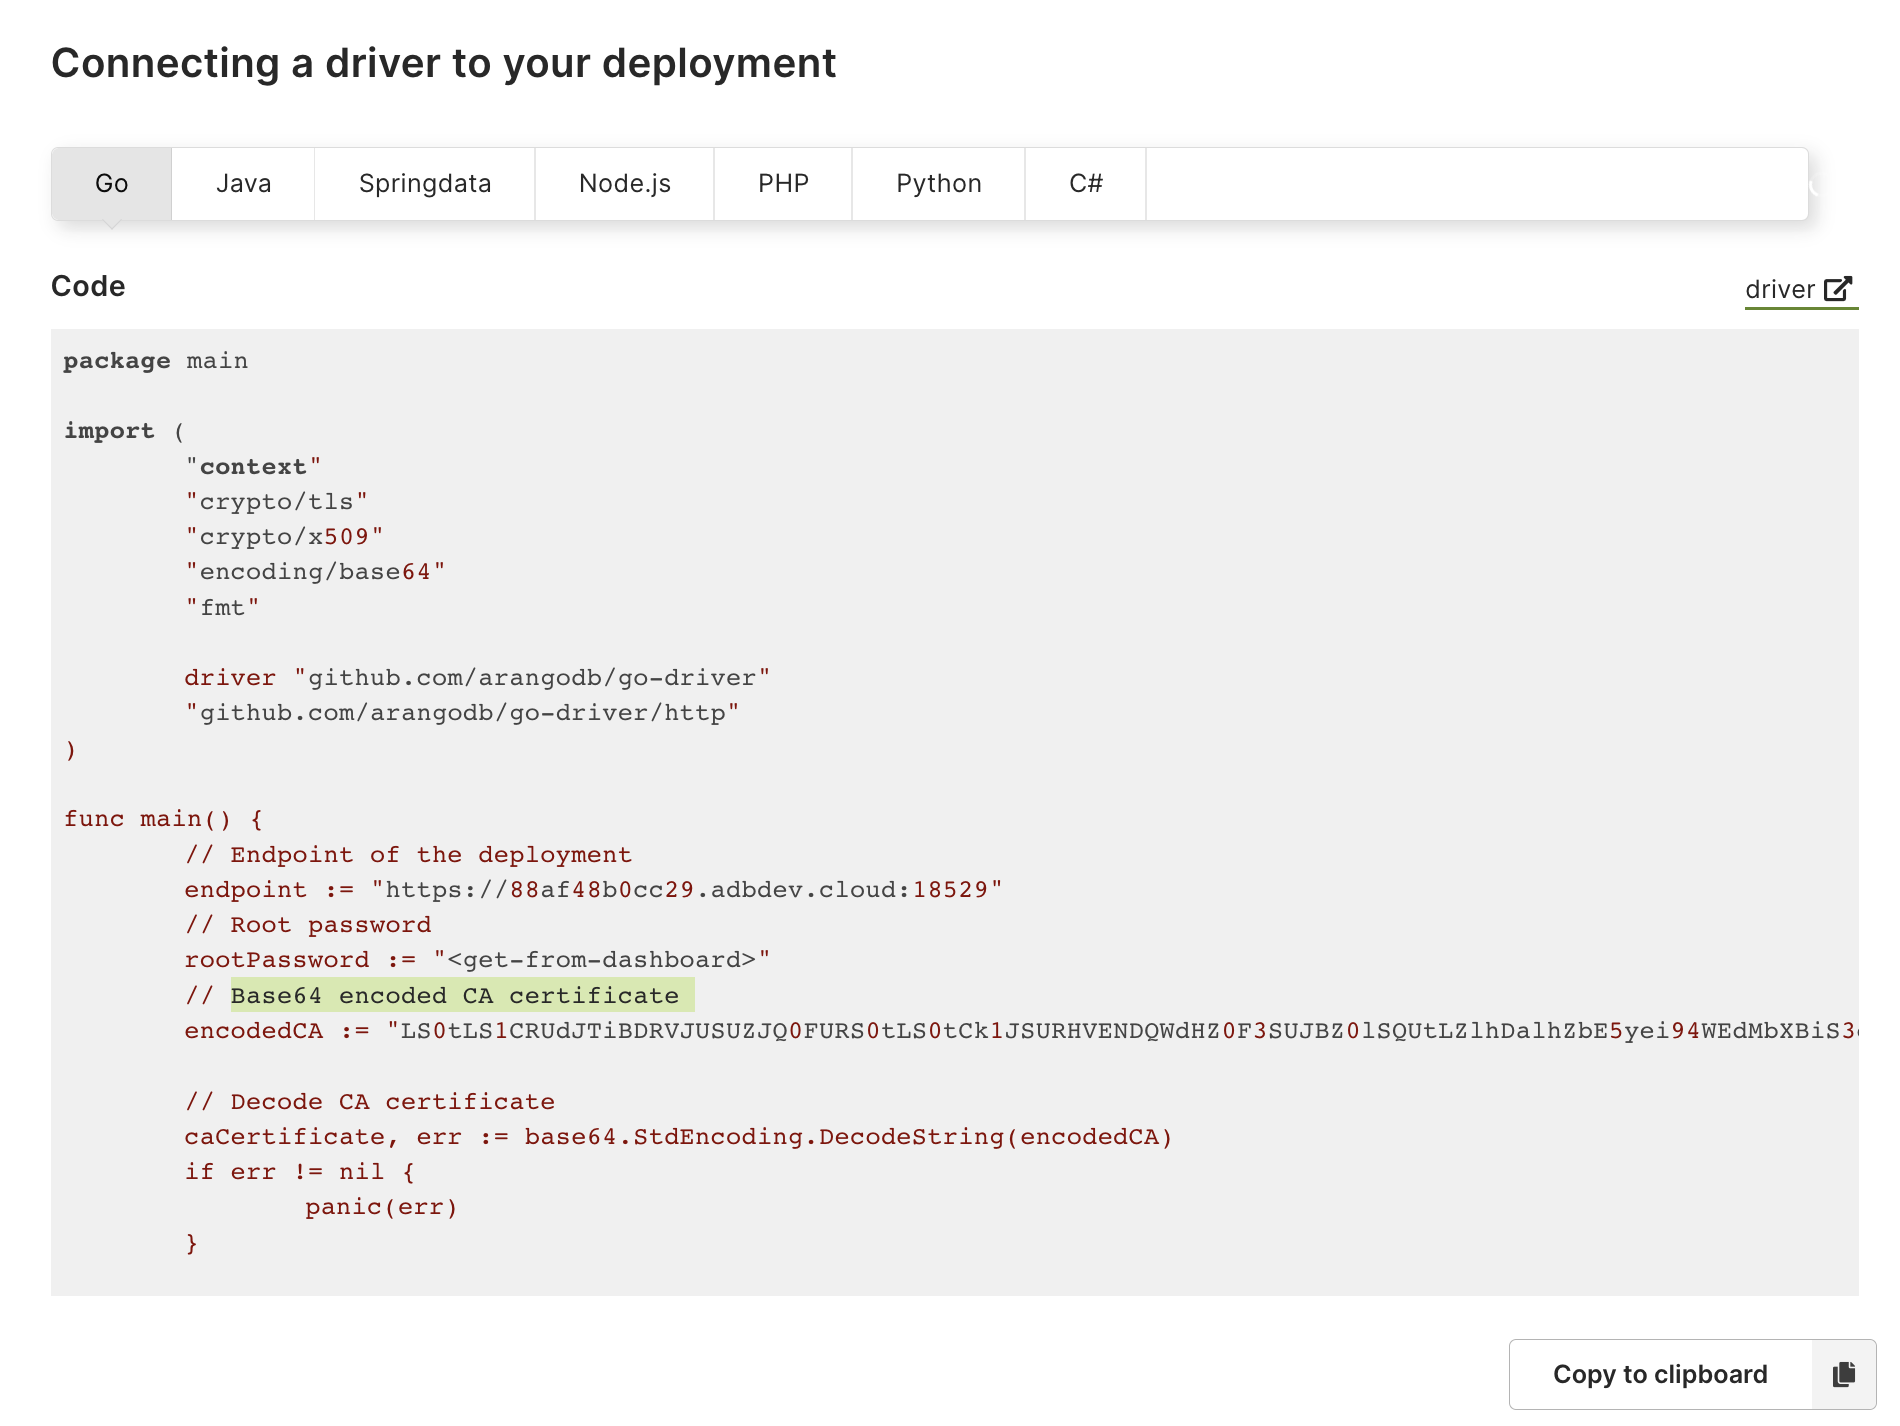
ArangoDB drivers, also called connectors, allow you to easily connect ArangoGraph deployments to your application.
- Navigate to Deployments and click the View button to show the deployment page.
- In the Quick start section, click the Connecting drivers button.
- Select your programming language, i.e. Go, Java, Python, etc.
- Follow the examples to connect a driver to your deployment. They include code examples on how to use certificates in your application.

Certificate Rotation
Every certificate has a self-signed root certificate that is going to expire. When certificates that are used in existing deployments are about to expire, an automatic rotation of the certificates is triggered. This means that the certificate is cloned (all existing settings are copied over to a new certificate) and all affected deployments then start using the cloned certificate.
Based on the type of certificate used, you may also need to install the new certificate on your local machine. For example, self-signed certificates require installation. To prevent any downtime, it is recommended to manually create a new certificate and apply the required changes prior to the expiration date.
