ArangoDB v3.10 reached End of Life (EOL) and is no longer supported.
This documentation is outdated. Please see the most recent stable version.
Upgrading on Windows
How to upgrade a single server installation using an installer or zip archive
As there are different ways to install ArangoDB on Windows, the upgrade method depends on the installation method that was used.
In general, it will be needed to:
- Install (or unpack) the new ArangoDB binaries on the system
- Upgrade the current database (or perform a restore)
- Optional (but suggested) to keep the system clean (unless there are specific reasons to not do so): remove the old binaries from the system
Some of the above steps may be done automatically, depending on your specific situation.
Upgrading via the Installer
If you have installed via the Installer, to upgrade:
- Download the new Installer and run it.
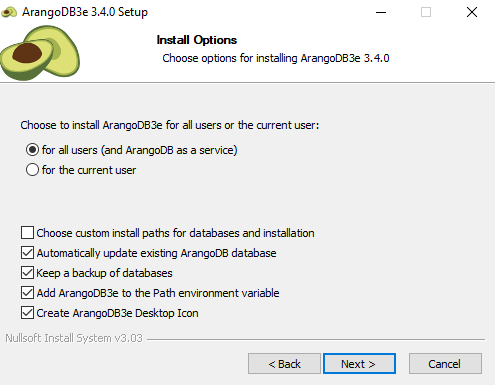
- The Installer will ask if you want to update your current database: select the option “Automatically update existing ArangoDB database” so that the database files will be upgraded.

- After installing the new package, you will have both packages installed.
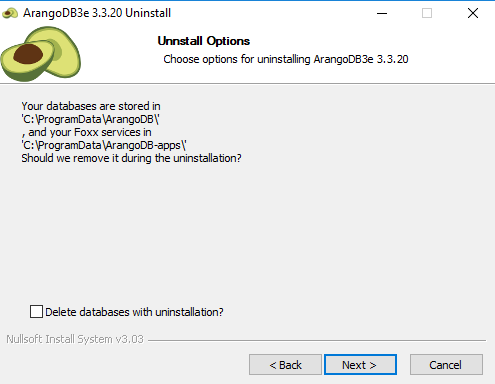
- You can uninstall the old one manually (make a copy of your old configuration file first).


When upgrading, the Windows Installer does not use the old configuration file for the installed Single Instance but a new (default) one (Issue #3773 ). To use the old configuration, it is currently needed to:
- Stop the server
- Replace the new with the old configuration file
- Restart the server
Manual upgrade of a ‘ZIP archive’ installation
There are two ways to upgrade a Single Instance that has been started from a ZIP package:
- In-Place upgrade
- Logical upgrade
In-Place upgrade
This method works easier if:
- You are using a data directory which is located outside of the directory created when extracting the ZIP archive (data directory can be set via the server option --database.directory)
- You are using a configuration file which is located outside of the directory created when extracting the ZIP archive (a configuration file can be passed via the server option --configuration)
Assuming that:
- Your data directory is directory1 (e.g. “D:\arango\data”)
- Your configuration file is file (e.g. “D:\arango\conf\arangod.conf”)
- Your old binaries are on directory2 (e.g. “C:\tools\arangodb-3.4.0”)
to perform the upgrade of a Single Instance:
- Download and extract the new ZIP package into a new directory (e.g directory3 “C:\tools\arangodb-3.4.1”)
- Stop your old server
- Start again the server (this time using the binary located in directory3)
passing:
- directory1 as --database.directory,
- file as --configuration
- the option --database.auto-upgrade (so that the old data directory will be upgraded)
- When the previous step is finished the server will stop automatically; you can now start your server again as done in the previous step but without passing the --database.auto-upgrade option
- Optionally remove the old server package by dropping the corresponding directory when you are confident enough that all is working fine.
Logical upgrade
To perform the upgrade of a Single Instance:
- Download the new package and extract it on a different location than the previous one
- Stop writes to the old server (e.g. block incoming connections)
- Take a backup of the data using arangodump
- Stop the old server
- Optional (depending on whether or not you modified default configuration), copy old ArangoDB configuration file to the new server (or just edit the new configuration file)
- Start the new server (with a fresh data directory, by default it will be inside the directory created when extracting the ZIP archive)
- Restore the backup into the new server using arangorestore
- Re-enable the writes (e.g. allow again incoming connections)
- Optionally remove the old server package by dropping the corresponding directory when you are confident enough that all is working fine.
