ArangoDB v3.13 is under development and not released yet. This documentation is not final and potentially incomplete.
My Account in ArangoGraph
How to manage your user account, your organizations, and your API keys in ArangoGraph
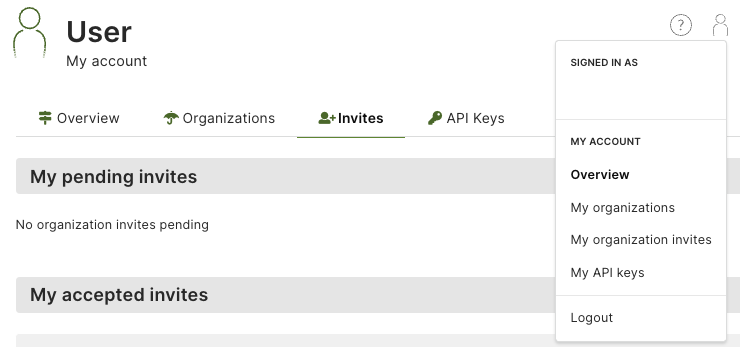
You can access information related to your account via the User Toolbar. The toolbar is in the top right corner in the ArangoGraph dashboard and accessible from every view. There are two elements:
- Question mark icon: Help
- User icon: My Account
Overview
How to view my account
- Hover over or click the user icon of the User Toolbar in the top right corner.
- Click Overview in the My account section.
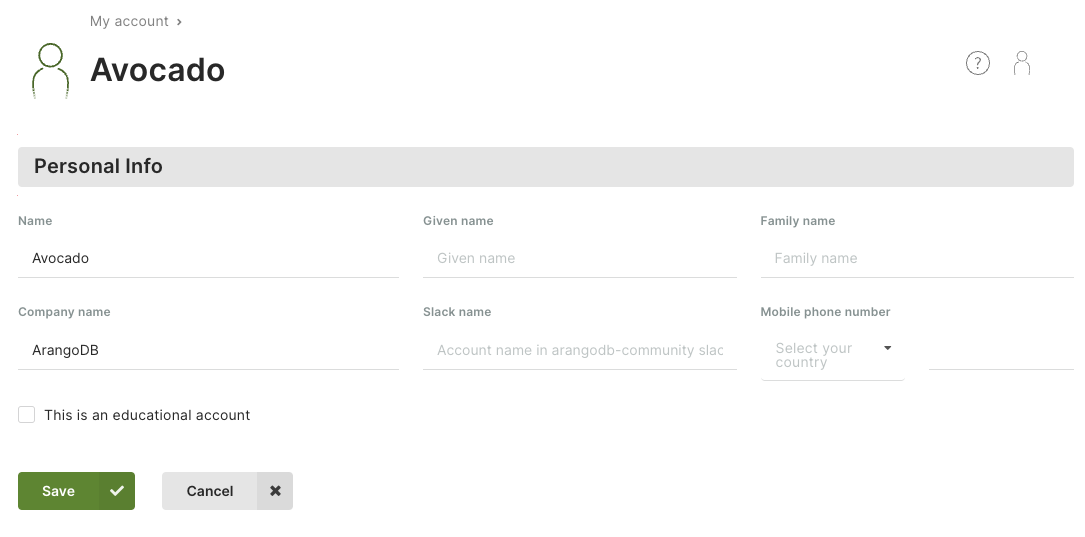
- The Overview displays your name, email address, company and when the account was created.
How to edit the profile of my account
- Hover over or click the user icon in the User Toolbar in the top right corner.
- Click Overview in the My account section.
- Click the Edit button.
- Change your personal information and Save.
Organizations
How to view my organizations
- Hover over or click the user icon of the User Toolbar in the top right corner.
- Click My organizations in the My account section.
- Your organizations are listed in a table. Click the organization name or the eye icon in the Actions column to jump to the organization overview.
How to create a new organization
- Hover over or click the user icon of the User Toolbar in the top right corner.
- Click My organizations in the My account section.
- Click the New organization button.
- Enter a name and a description for the new organization and click the Create button.
How to delete an organization
- Hover over or click the user icon of the User Toolbar in the top right corner.
- Click My organizations in the My account section.
- Click the recycle bin icon in the Actions column.
- Enter
Delete!to confirm and click Yes.

Invites
Invitations are requests to join organizations. You can accept or reject pending invites.
How to create invites
See Users and Groups: How to add a new member to the organization
How to respond to my invites
I am not a member of an organization yet
- Once invited, you will receive an email asking to join your
ArangoGraph organization.
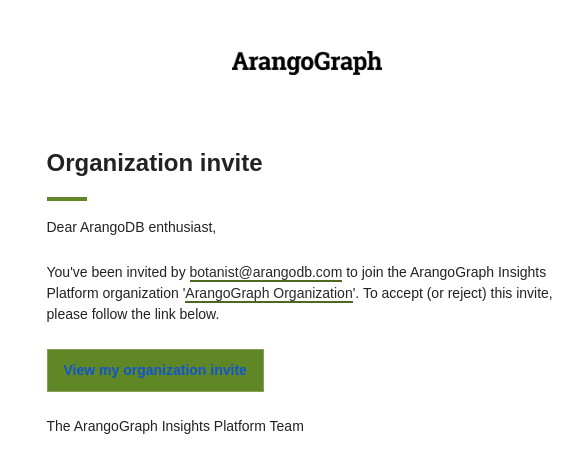
- Click the View my organization invite link in the email. You will be asked to log in or to create a new account.
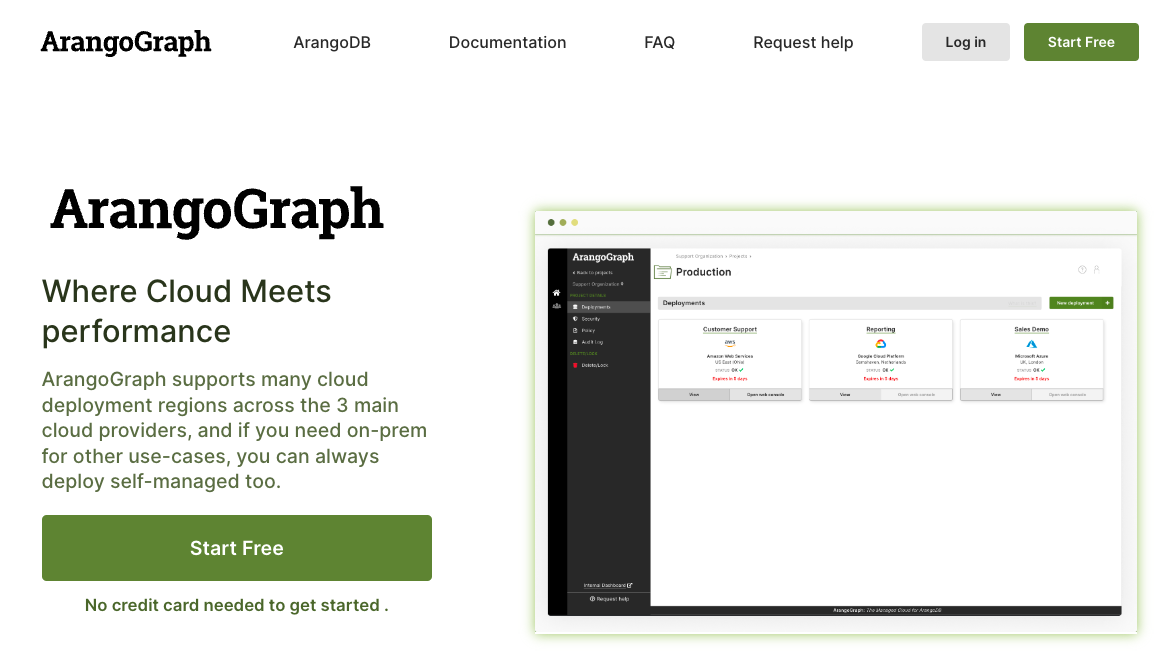
- To sign up for a new account, click the Start Free button or the
Sign up link in the header navigation.
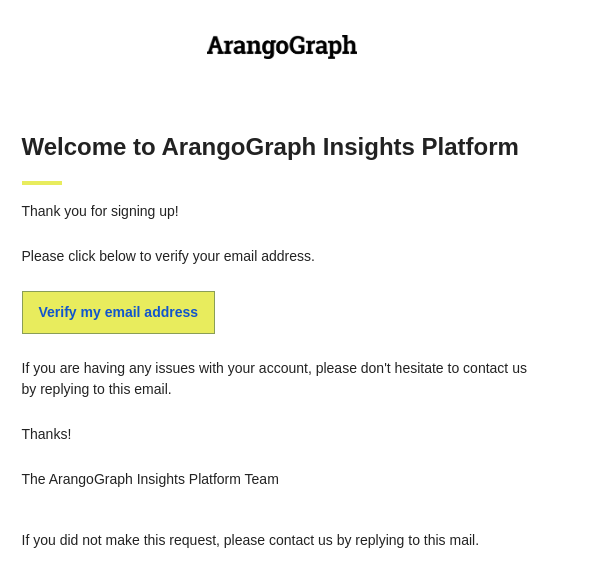
- After successfully signing up, you will receive a verification email.
- Click the Verify my email address link in the email. It takes you back
to the ArangoGraph Insights Platform site.
- After successfully logging in, you can accept or reject the invite to
join your organization.
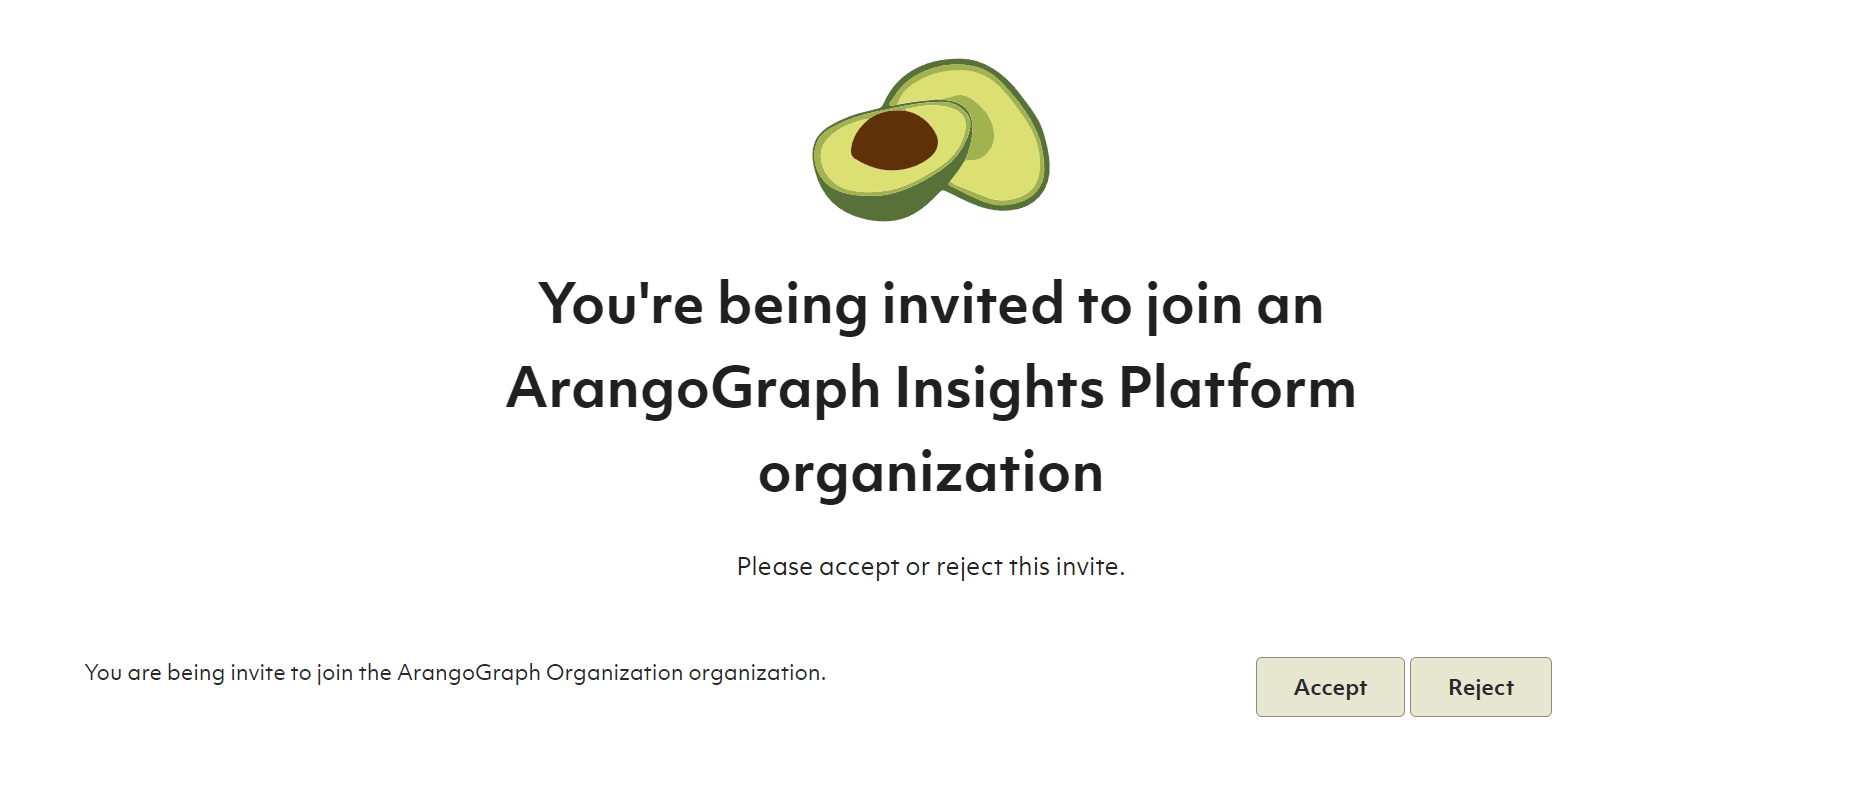
- After accepting the invite, you become a member of your organization and will be granted access to the organization and its related projects and deployments.
I am already a member of an organization
- Once invited, you will receive an email asking to join your ArangoGraph organization, as well as a notification in the ArangoGraph dashboard.
- Click the View my organization invites link in the email, or hover over the
user icon in the top right corner of the dashboard and click
My organization invites.
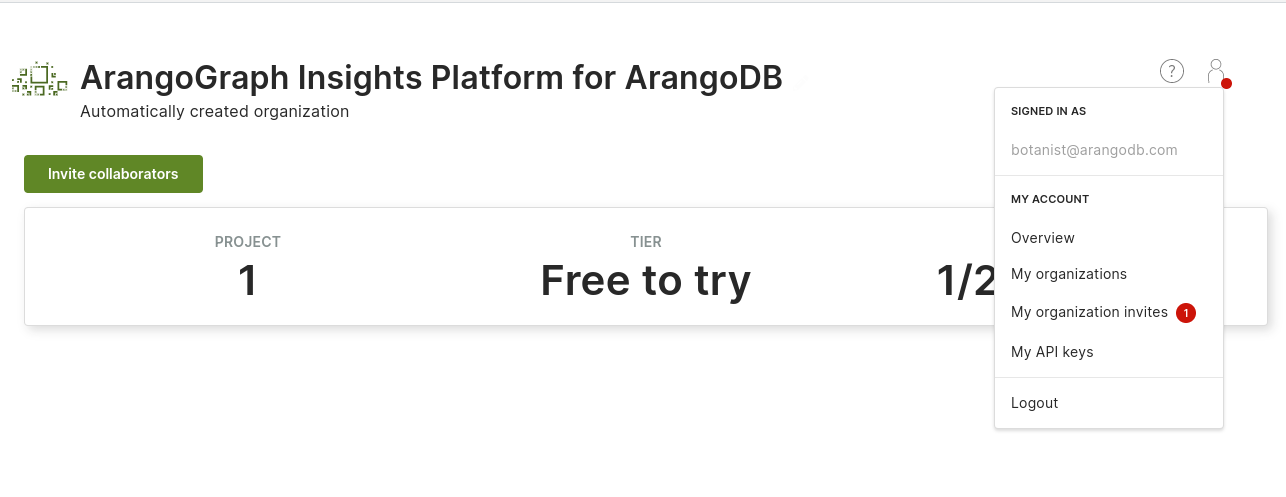
- On the Invites tab of the My account view, you can accept or reject
pending invitations, as well as see past invitations that you accepted or
rejected. Click the button with a checkmark icon to join the organization.

API Keys
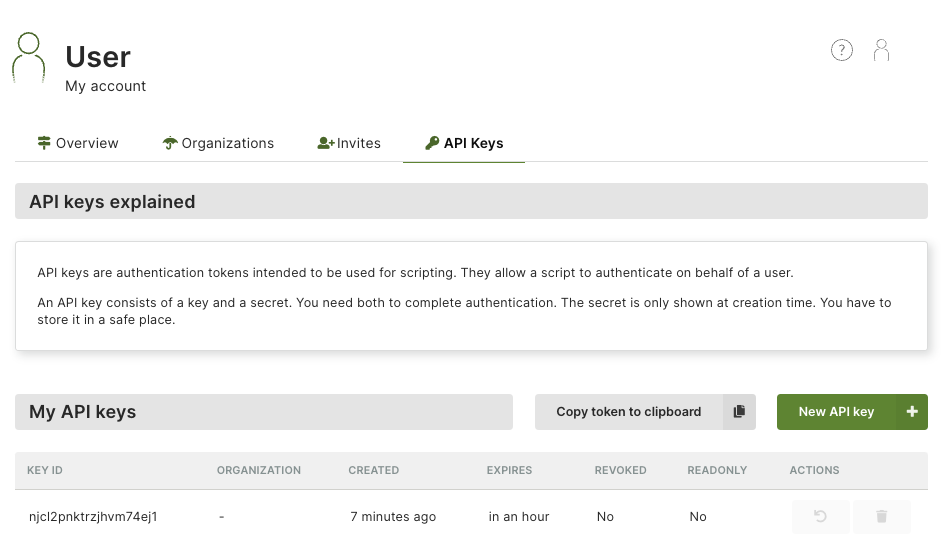
API keys are authentication tokens intended to be used for scripting. They allow a script to authenticate on behalf of a user.
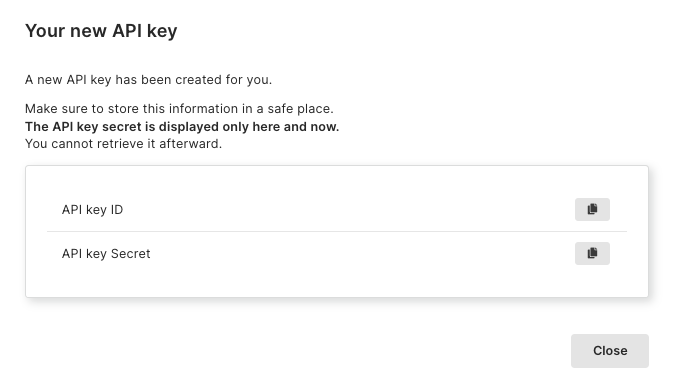
An API key consists of a key and a secret. You need both to complete authentication.
How to view my API keys
- Hover over or click the user icon of the User Toolbar in the top right corner.
- Click My API keys in the My account section.
- Information about the API keys are listed in the My API keys section.
How to create a new API key
- Hover over or click the user icon of the User Toolbar in the top right corner.
- Click My API keys in the My account section.
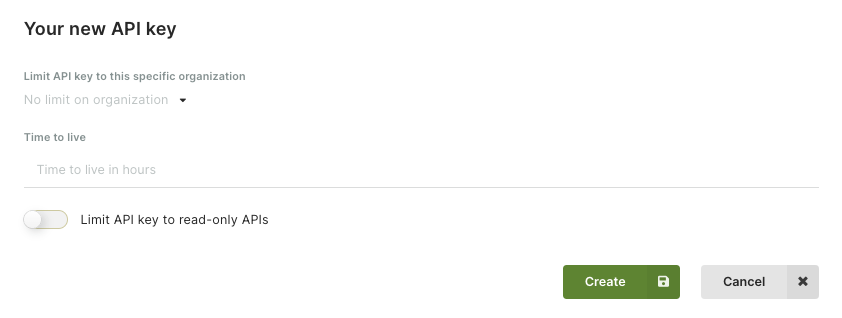
- Click the New API key button.
- Optionally limit the API key to a specific organization.
- Optionally specify after how many hours the API key should expire into the Time to live field.
- Optionally limit the API key to read-only APIs
- Click the Create button.
- Copy the API key ID and Secret, then click the Close button.
How to revoke or delete an API key
- Hover over or click the user icon of the User Toolbar in the top right corner.
- Click My API keys in the My account section.
- Click an icon in the Actions column:
- Counter-clockwise arrow icon: Revoke API key
- Recycle bin icon: Delete API key
- Click the Yes button to confirm.
