ArangoDB v3.13 is under development and not released yet. This documentation is not final and potentially incomplete.
Projects in ArangoGraph
How to manage projects and IP allowlists in ArangoGraph
ArangoGraph projects can represent organizational units such as teams, product groups, environments (e.g. staging vs. production). You can have any number of projects under one organization.
Organizations → Projects → Deployments
Projects are a container for related deployments, certificates & IP allowlists. Projects also come with their own policy for access control. You can have any number of deployment under one project.

How to create a new project
- In the main navigation, click the Dashboard icon.
- Click Projects in the Dashboard section.
- Click the New project button.
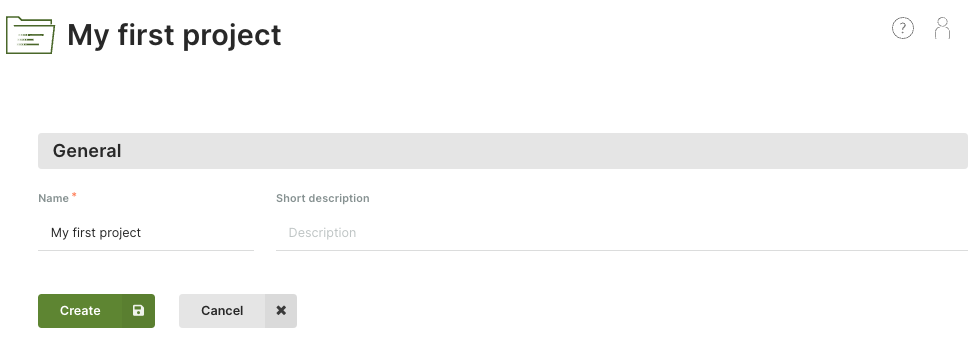
- Enter a name and optionally a description for your new project.
- Click the Create button.
- You will be taken to the project page.
- To change the name or description, click either at the top of the page.


How to create a new deployment
See Deployments: How to create a new deployment
How to delete a project
- Click Projects in the Dashboard section of the main navigation.
- Click the recycle bin icon in the Actions column of the project to be deleted.
- Enter
Delete!to confirm and click Yes.
How to manage IP allowlists
IP allowlists let you limit access to your deployment to certain IP ranges. It is optional, but strongly recommended to do so.
You can create an allowlist as part of a project.
- Click a project name in the Projects section of the main navigation.
- Click the Security entry.
- In the IP allowlists section, click:
- The New IP allowlist button to create a new allowlist.
When creating or editing a list, you can add comments
in the Allowed CIDR ranges (1 per line) section.
Everything after
//or#is considered a comment until the end of the line. - A name or the eye icon in the Actions column to view the allowlist.
- The pencil icon to edit the allowlist. You can also view the allowlist and click the Edit button.
- The recycle bin icon to delete the allowlist.
- The New IP allowlist button to create a new allowlist.
When creating or editing a list, you can add comments
in the Allowed CIDR ranges (1 per line) section.
Everything after
How to manage role bindings
See:

